

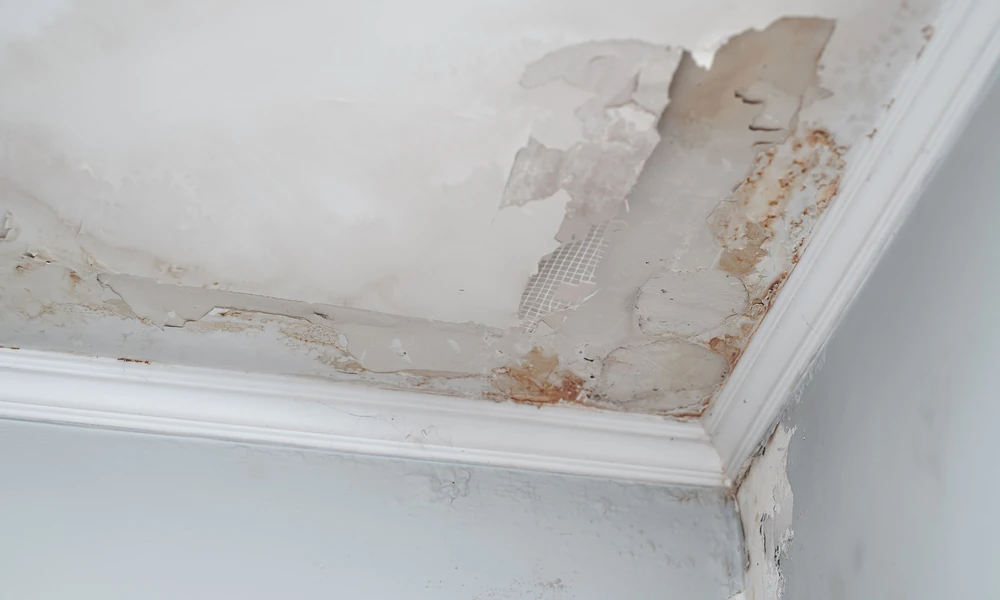
Water damage doesn’t wait for a convenient moment. A cracked supply line, a failed water heater or a roof leak after a winter storm can soak drywall and flooring within minutes. What you do in the next three days decides whether this is a repair or a rebuild. Professional water damage restoration in Redlands works the same way: speed first, then precision.
This guide walks through those 72 hours in order, so you know what to do and what to expect.
Why Redlands Homes Need a Different Game Plan
Redlands has a mix of housing that most cities don’t. Historic homes with original plumbing sit a few blocks from newer builds on concrete slabs. Each fails differently:
- Older homes often have aging galvanized or cast-iron lines. Leaks can run inside walls for weeks before a stain appears.
- Slab-foundation homes can leak below the floor, where moisture hides under flooring and shows up as warped boards or musty odor.
- Homes with upstairs bathrooms or laundry rooms can send water through ceilings and down wall cavities into several rooms at once.
Knowing your home’s weak points helps you spot trouble early. It also helps your restoration team find hidden moisture faster.
Hour 0 to 1: Stop the Source, Stay Safe
Your first priorities are simple.
- Shut off the water at the main valve, or at the fixture if it’s a single appliance.
- Cut power to affected areas at the breaker if water is near outlets, and don’t step into standing water near electrical equipment.
- Move valuables such as electronics, papers and small furniture to dry ground.
- Take photos and video of everything before you touch it. Your insurer will want them.
Then call a professional. Don’t spend the first hour searching for a mop.
Hours 1 to 6: Professional Assessment and Water Classification
Once a crew arrives, the most important step is not pumping water. It is working out what kind of water you have. Restoration professionals classify it by contamination risk:
- Category 1 (clean water): a broken supply line or an overflowing sink.
- Category 2 (gray water): washing machine or dishwasher discharge.
- Category 3 (black water): sewage backups or storm floodwater.
Category matters because it decides what can be saved. Clean-water drywall can often be dried in place. Sewage-contaminated materials usually have to be removed. Moisture meters and thermal imaging then map the damage behind walls and under floors, which you can’t judge by sight.
Hours 6 to 24: Extraction and Setting Up the Dry-Out
Standing water comes out first, using truck-mounted or portable extractors. Next comes the drying system:
- Air movers push dry air across wet surfaces.
- Commercial dehumidifiers pull moisture out of the air.
- Targeted drying forces air into wall cavities or under flooring where needed.
This phase also decides what stays and what goes. Saturated carpet padding and soaked insulation are usually removed. Hardwood and solid framing can often be saved with the right equipment. A good team documents each decision, which helps when your insurance adjuster reviews the claim.
Hours 24 to 48: The Mold Window
This is the stretch where a manageable problem can become an expensive one. Mold can begin growing on damp materials within a day or two. The U.S. Environmental Protection Agency’s guidance on mold cleanup in your home stresses acting quickly, because mold damages whatever it grows on and the longer it grows, the more damage it causes. The same page notes that porous materials like carpet and ceiling tiles may need to be thrown away once moldy, and that contaminated water calls for a professional with experience in that kind of cleanup.
That is why drying needs to continue around the clock, and why a simple “it looks dry” is not a safe test. Surfaces can feel dry while framing and subfloor still hold moisture.
Hours 48 to 72: Monitoring, Sanitizing and Next Steps
By day three, technicians should be taking daily moisture readings and adjusting equipment placement based on the data. The goal is to bring every material back to its normal moisture level. Meanwhile:
- Affected surfaces are cleaned and sanitized.
- Odors are treated at the source, not masked.
- Your restoration plan moves from emergency work to repair: replacing drywall, flooring, paint and cabinetry where needed.
Mistakes That Make Water Damage Worse
Even well-meaning homeowners can slow recovery. Avoid these:
- Waiting to see if it dries on its own. Hidden moisture rarely does.
- Running the HVAC system if the water may be contaminated, since it can spread problems through the house.
- Painting over stains. It traps moisture and hides active damage.
- Skipping documentation. Missing photos can complicate a claim.
- Hiring on price alone. Ask about certifications and whether the company handles the whole process, from extraction to rebuild.
What to Look for in a Local Restoration Company
When your home is at stake, a few things matter more than a flashy ad:
- 24/7 emergency availability, since leaks don’t keep office hours
- IICRC certification, the industry standard for restoration practices
- Experience with insurance claims, so paperwork doesn’t slow you down
- A single team for cleanup and repair, so there are fewer handoffs and less confusion
Padgett’s Fire & Flood Restoration has served Redlands and the Inland Empire as a family-owned business since 1970. They are an IICRC-certified firm and offer free inspections, 24-hour emergency response and help with insurance claims. If you’re dealing with a leak right now, you can reach them at (909) 307-2769.
Final Thoughts
The first 72 hours after a leak are a race between drying and damage. Shut off the water, document everything, and bring in trained help early. A fast, organized response protects your home’s structure, your belongings and your budget.
